
Water is the lifeline of any garden—but with rising water bills and growing concerns about sustainability, gardeners are turning to a smarter solution: DIY rainwater harvesting systems.
Not only does rainwater harvesting help conserve water, but it also provides clean, chemical-free water for your plants. It's cost-effective, eco-friendly, and surprisingly easy to set up!
In this blog, we’ll guide you step-by-step on how to build a DIY rainwater harvesting system for your garden, using simple tools and sustainable materials. Whether you have a balcony garden, a backyard setup, or a terrace garden, this guide is for you.
🌿 Why Rainwater Harvesting is a Game-Changer for Gardeners
Before we dive into the DIY part, here’s why collecting rainwater for gardening is such a smart idea:
- Saves water and reduces utility bills
- Protects plants from hard tap water and chemical additives
- Helps during water shortages and dry spells
- Improves soil structure and plant health
- Reduces runoff, soil erosion, and flooding
And most importantly—it helps you garden sustainably and reduce your environmental footprint.
🧰 Materials You'll Need for a DIY Rainwater Harvesting System
Setting up a rainwater collection system doesn't require fancy equipment. Here’s what you need:
- Rain barrel or large plastic drum (100–200 liters)
- Mesh screen or filter fabric
- Gutter pipe or downspout diverter
- Hose tap or faucet
- PVC pipes and connectors
- Drill and spanner
- Bricks or platform to elevate the barrel
- First-flush diverter (optional but recommended)
All of these can be sourced affordably, and most are available at gardening supply stores or online at PaudheWale.
🏡 Step-by-Step: How to Set Up a Rainwater Harvesting System for Your Garden
✅ Step 1: Choose the Right Location
Pick a spot near the base of your roof where a gutter or downspout brings water down. This is where your rain barrel will collect water. Make sure:
- The surface is flat and stable
- The spot gets enough runoff during rain
- It’s easily accessible for gardening use
Place a few bricks or a wooden pallet to elevate the barrel—this helps with water pressure when you attach a hose.
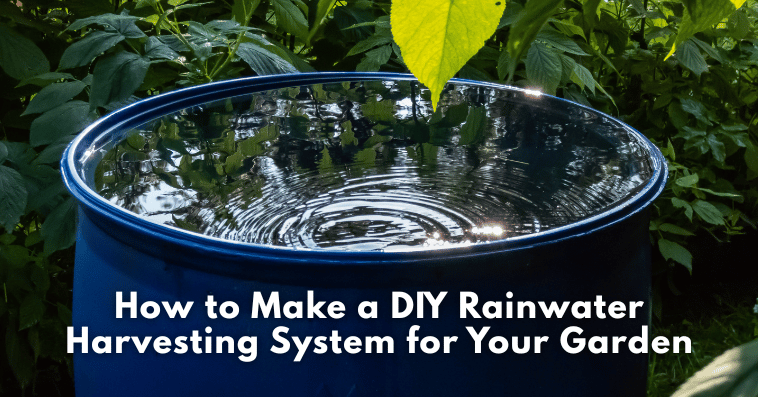
✅ Step 2: Install a Rain Barrel or Storage Drum
Use a clean, food-grade plastic drum or a commercial rain barrel. Drill a hole at the bottom side of the barrel and:
- Fit a spigot or tap
- Seal it with waterproof adhesive or Teflon tape
- Ensure the tap is leak-proof and positioned for easy access
Install a fine mesh screen on the top to prevent leaves, insects, and debris from entering. This also prevents mosquito breeding.
✅ Step 3: Connect the Gutter to Your Barrel
Now, connect the existing gutter or downspout to your barrel using a PVC pipe or flexible diverter.
Make sure:
- The pipe slopes slightly toward the barrel
- The opening is sealed well to prevent leaks
Optional: Install a first-flush diverter to discard the initial dirty rainwater from the roof. This ensures only clean rainwater enters your barrel.
✅ Step 4: Overflow Pipe and Drainage
To avoid flooding once the barrel is full, drill a small hole near the top edge and attach an overflow pipe that redirects excess water to:
- Another barrel
- A soak pit
- A drain system
This step is important, especially during heavy rains.
✅ Step 5: Attach a Hose or Use a Watering Can
Once your system is set up, you can:
- Connect a garden hose to the tap for watering directly
- Fill your watering can manually
- Add a drip irrigation system connected to your rain barrel for automated watering
Rainwater is naturally soft, pH-balanced, and perfect for watering flowers, vegetables, herbs, and houseplants.
🌧️ Tips to Maintain Your DIY Rainwater Harvesting System
- Clean your barrel monthly to avoid algae or sludge buildup
- Check the mesh filter after every heavy rain
- Use a mosquito net or tablet if you're in a mosquito-prone area
- Keep the system covered from direct sunlight to prevent algae
- Disconnect or drain the barrel during long dry spells to avoid damage
🌱 How Much Rainwater Can You Collect?
Wondering if this is worth it? Let’s do some simple math:
For every 1,000 square feet of roof area, 1 inch of rainfall gives you approximately 600 gallons (2,271 liters) of water!
Even with a small roof area or terrace, you can collect hundreds of liters in one good monsoon shower. Imagine how many plants you can water with that—without touching tap water!
💡 Make It Smarter: Go Beyond Basic Storage
Once your basic system is up and running, you can:
- Install multiple barrels connected in series
- Add a water level indicator
- Set up a solar-powered pump to boost pressure
- Use the collected water for washing gardening tools, composting, or even cleaning patios
The more you expand, the more you save—and the more sustainable your garden becomes.
🌼 The Environmental Impact of Rainwater Harvesting
Collecting and using rainwater:
- Reduces demand on municipal water supplies
- Prevents stormwater runoff that causes soil erosion and waterlogging
- Supports climate-resilient gardening practices
- Reduces plastic use by cutting dependence on bottled or pumped water
Every drop counts—and your garden can be a powerful place to start making a difference.
🛒 Where to Buy Rainwater Harvesting Tools in India?
Ready to build your own system?
Get started with eco-friendly drums, garden hoses, watering cans, spigots, filters, and more from one trusted platform:
🌱 Shop now at PaudheWale — your one-stop destination for sustainable gardening solutions, including everything you need to collect, store, and use rainwater effectively.
✅ Final Thoughts: Make Rain Your Garden’s Best Friend
Creating a DIY rainwater harvesting system is more than just a weekend project—it’s a long-term investment in your garden’s health and the planet’s future. It's easy, affordable, and incredibly effective.
So, the next time it rains, don’t let that water go to waste. Harvest it. Use it. Grow with it.
And if you're wondering where to start, remember—PaudheWale has everything you need.